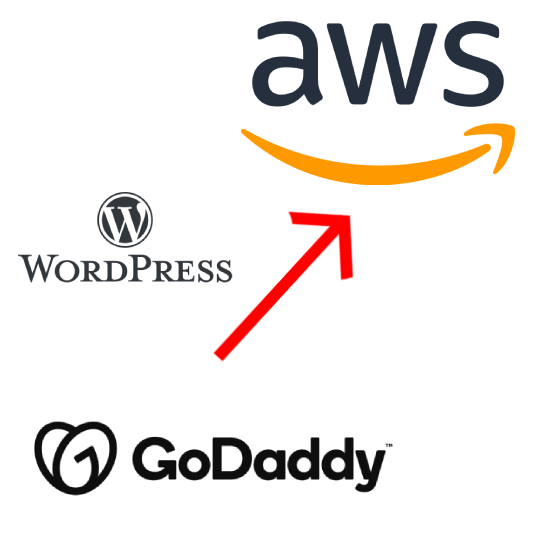
Why ?
More control, cheaper in the long run (Godaddy renewal is expensive), takes less than an hour* and it’s free**
How ?
Set up the new website
1. Create an AWS account here
2. Create a new instance on Lightsail
3. Install this plugin All-in-one Migration and Backup
Back up the old website
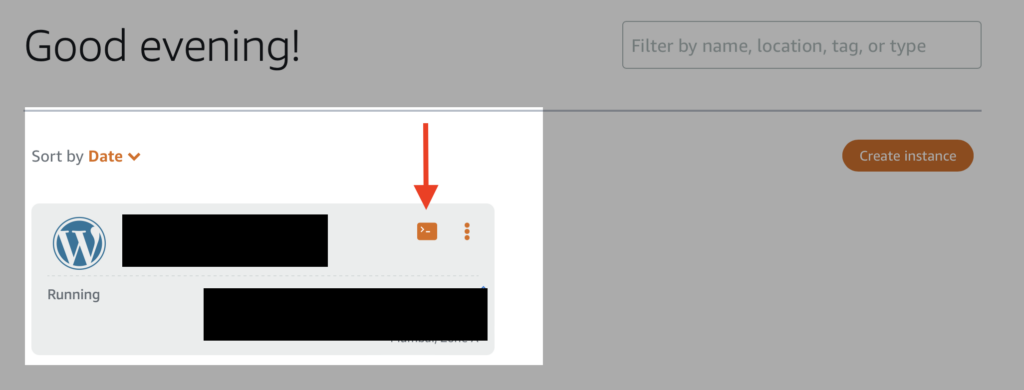
1. Install this plugin All-in-one Migration and Backup
2. Backup and export your website
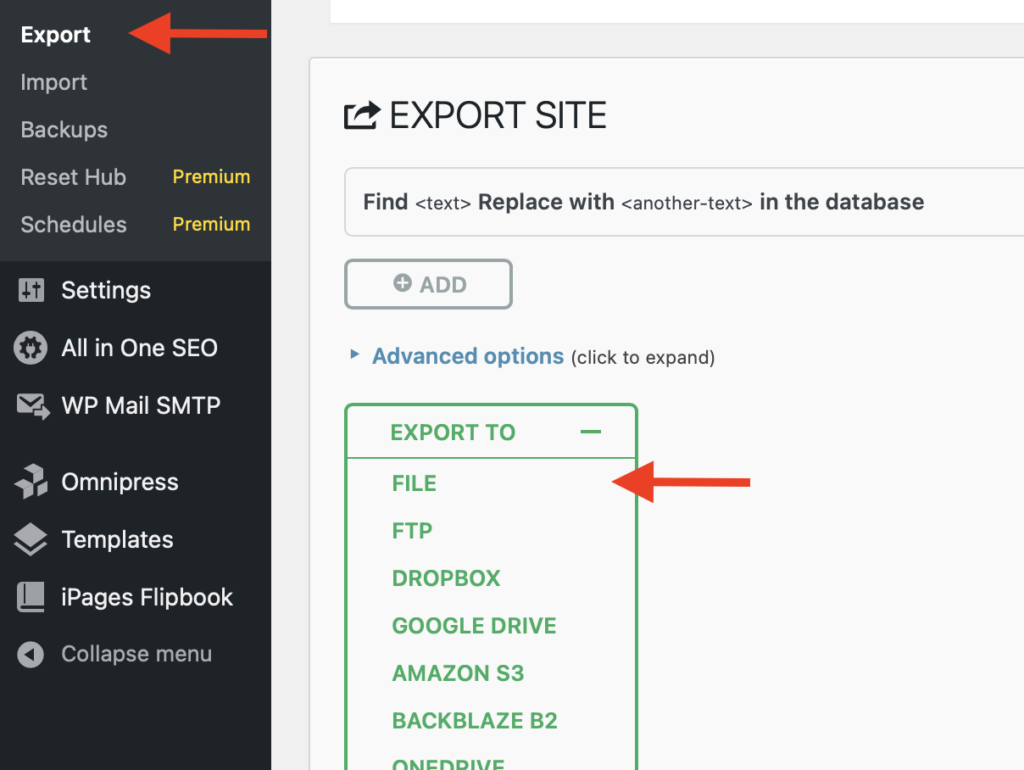
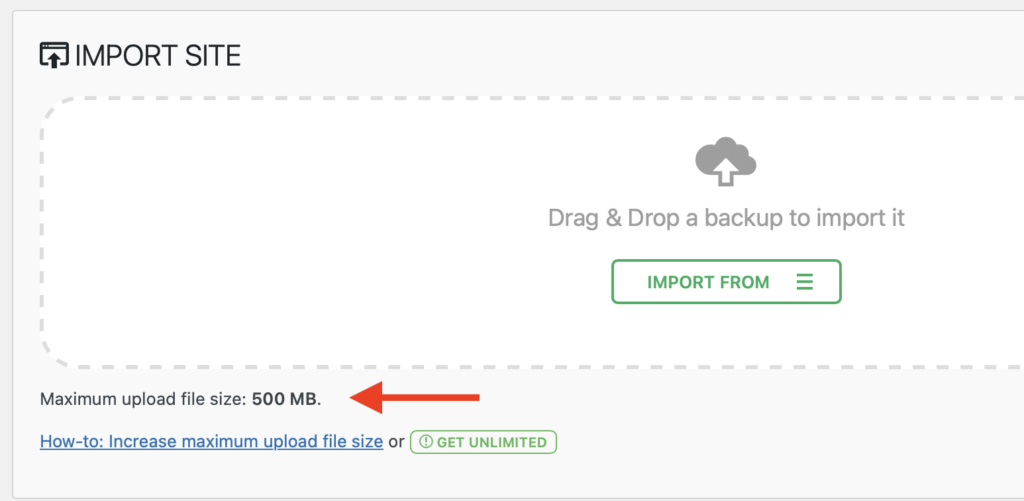
The free version only allows exporting to a file and YES your website can be large hence you may need to adjust some settings that I’m going to cover, or you may purchase a premium susbscription.
Importing the backup
1. Import the back on your new website using the plugin
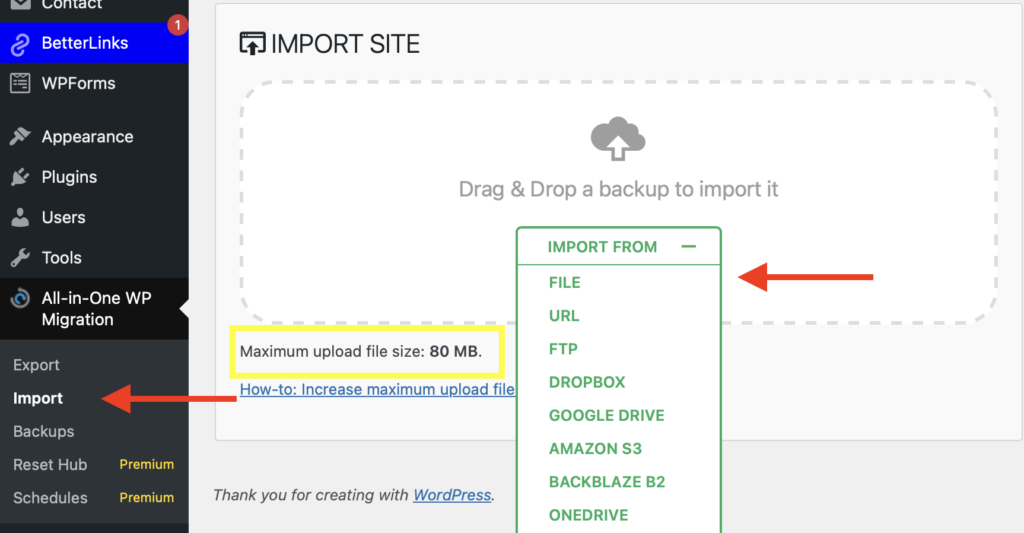
This might fail for a couple of reasons.
Your website backup is likely larger than the max file size upload or max POST request size, set on your instance, and you’ll need to set it to be larger than your backup size.
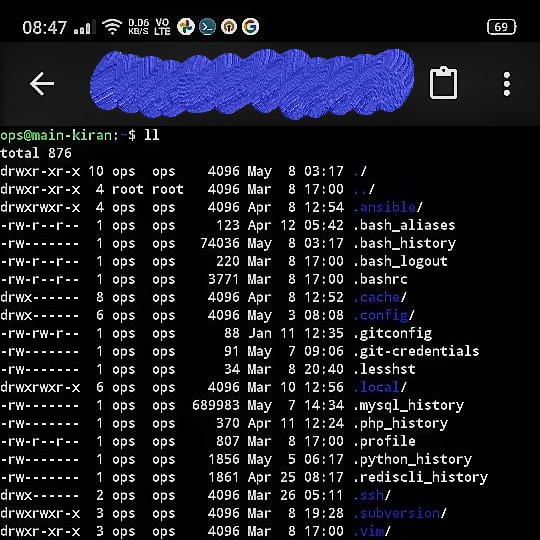
You need to SSH into your instance and increase this limit.
Change upload_max_filesize and post_max_size in MB in this file: /opt/bitnami/php/etc/php.ini
The programs included with the Debian GNU/Linux system are free software;
the exact distribution terms for each program are described in the
individual files in /usr/share/doc/*/copyright.

Debian GNU/Linux comes with ABSOLUTELY NO WARRANTY, to the extent
permitted by applicable law.
       ___ _ _                   _
      | _ |_) |_ _ _  __ _ _ __ (_)
      | _ \ |  _| ' \/ _` | '  \| |
      |___/_|\__|_|_|\__,_|_|_|_|_|

  *** Welcome to the Bitnami package for WordPress 6.5.3-0         ***
  *** Documentation:  https://docs.bitnami.com/aws/apps/wordpress/ ***
  ***                 https://docs.bitnami.com/aws/                ***
  *** Bitnami Forums: https://github.com/bitnami/vms/              ***

bitnami@ip-xxx-xx-x-xxx:~$ vim /opt/bitnami/php/etc/php.ini
; Maximum allowed size for uploaded files.
; Set this to be larger than your backup filesize
upload_max_filesize = 500M
...
...
; Maximum size of POST data that PHP will accept.
; Same, should be larger than the backup
post_max_size = 500MOptional: This should be enough, but if it still fails, you may have another limit imposed by Apache.
You can usually find this in /opt/bitnami/apache2/conf/httpd.conf or you can look for the conf file Apache is using
Now restart the bitnami service
bitnami@ip-xxx-xx-x-xxx:~$ sudo /opt/bitnami/ctlscript.sh restartThis should be enough to allow you to import large backups. You can verify if it worked by checking the new upload size limit here.
The imports can warn/fail for various reasons, such as PHP version mismatch, plugin incompatibility, WordPress version etc. But for the most part, these are fixable and the Plugin forum has solutions for most of them.
Pointing your domain to the new website
After verifying the website is imported correctly and it works, you’ll need to update your DNS settings with the Domain Registrar.
Go to the DNS settings for your domain
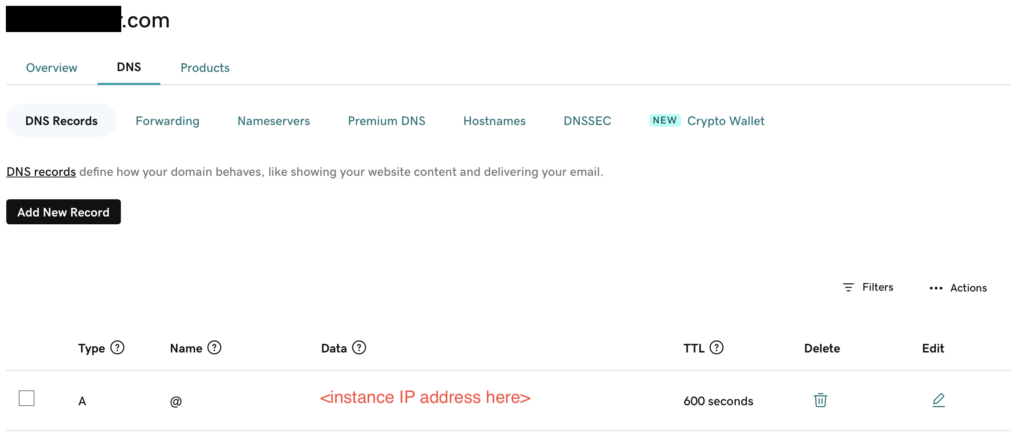
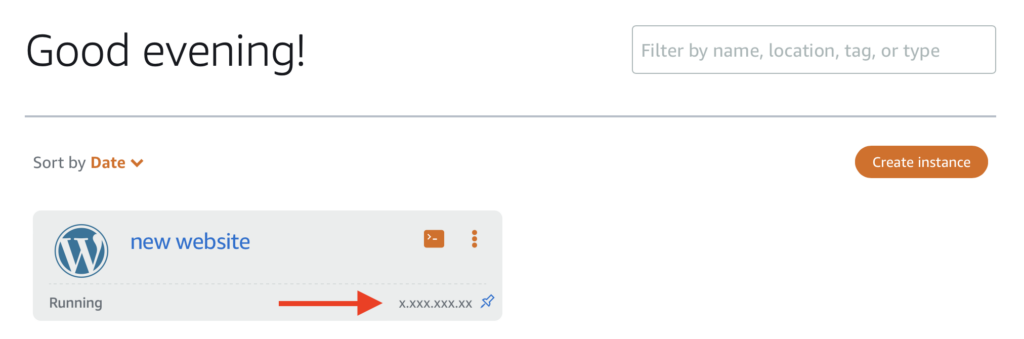
You can find your instance IP address on the Lightsail Dashboard
Once you update your DNS settings, after some time your domain should point to the new website.
Notes:
- You may want to check the wordpress administration settings after migration, for example your admin id password should be the same as before.
- Since at the time of import your hostname is just an IP address and not the domain name, some strings will show the IP address instead of domain name, you can avoid this by pointing the domain to your new website before importing.
- Lightsail allows you to install SSL/TLS certificate easily from the UI itself.
- It’s recommended you assign a static IP incase you’ll be stopping / rebooting your instance and don’t want to update DNS again.
- This setup should work for pretty much for any hosting not just Godaddy or Lightsail, just make sure the Hosting service allows you to set the request and upload file size limits.
- *Depends on how big is your website, if it’s less than a couple of GBs you should be fine
- **Checkout AWS Offers here